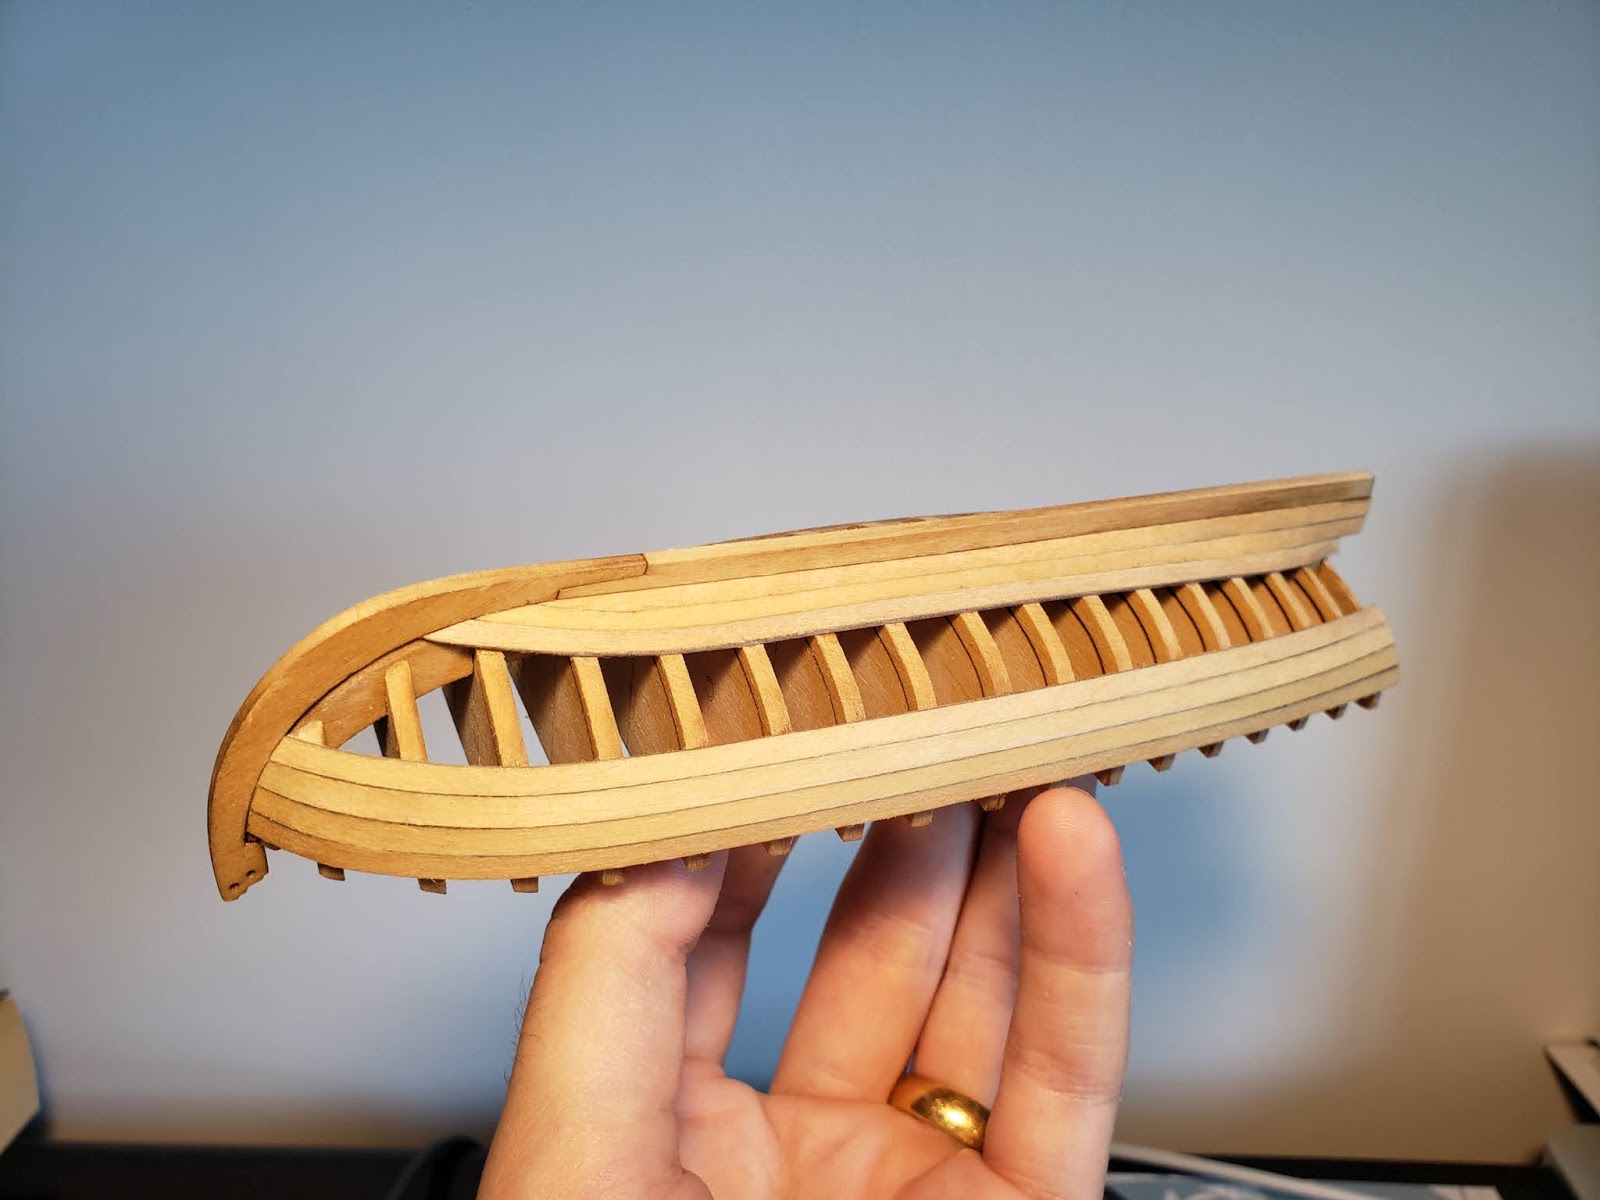
Picking up where we left last time: all of the frames of the longboat were installed on the keel, and the skeleton was complete. After fairing was complete and the sides of the frames were properly shaped, it was time to begin the planking process.
To begin with, I returned the model to my improvised jig to hold it in position while I marked the position of the top planks. Viewed from the side, the plank will dip slightly in the middle, rising toward the bow and stern. I took measurements off the plans and made marks on each bulkhead as a guide for gluing on the planks.

The first planks to be installed are the uppermost two on each side. I immersed the planks in boiling water to make them pliable, bent them and clamped them on the hull while they dried. Then I attached them with superglue, being careful to be as neat as I could be with the glue, since the inside surface of the planks will also be visible. Many people will prefer slower curing wood glue, but for me superglue is ideal because I can apply it to a few bulkheads at a time, secure the plank, and then move on, without having to clamp the entire plank and wait for the glue to dry. But it's very much a question of personal preference.

Another view of those first two planks, giving a sense of the slight curve they follow. Note that the top of the upper plank is not even with the top of the bulkheads.

The next planks added are the bottom two on each side. These have to follow a more complex path, curving and twisting. They also have to be shaped more severely in the bow. After these are installed, I followed the instructions by alternating between adding upper and lower planks. The ones in the middle need to be shaped more, as the width is not consistent at each location. They are thinner in the bow and stern, fatter in the middle. Also all planks need to have their edges bevelled slightly to allow them to butt up against their neighbors tightly.


We're making progress!
An overhead shot of the hull as the planking nears completion.


Now all of the planks have been added, the little triangular stern filler piece has been added, and the excess length of the keel trimmed off. Overall, I made some errors with the planking, and it didn't all fit together as snugly as I might have wished. But I added a small amount of filler made from a mixture of white glue and sawdust in a couple places, and did a lot of sanding. I can live with the results. Also a lot of the outside of the hull will be covered by the paint of the waterline, so I will have opportunities to hide some of my mistakes.

And here is a top view of the finished planking.

Next it will be time to remove the inner bulkheads, do a great deal of sanding, and start in on the interior details.
No comments:
Post a Comment